Part 1: Setting up your development environment
Discover the core technologies we will use in this tutorial and set up all the necessary tools to implement your very first FastStore storefront.
Before we really get started, let's set up your development environment and make sure that you have all the necessary tools to start building your very first FastStore storefront.
In this part of the tutorial, you will:
- Install all the necessary tools to build a storefront with FastStore.
- Set up your GitHub account permissions.
- Set up your VTEX environment.
Step 1: Installing prerequisite tools
To complete this tutorial, you will need to have the following tools installed on your machine. Click the header to expand the section and get more information on how to install the respective tool.
macOS Users - If you're a macOS user, make sure to install Homebrew before proceeding any further. Homebrew is a package manager that simplifies the installation of different software on Apple's operating system.
Node.js - an open-source runtime environment that executes JavaScript code directly in a computer process instead of in a browser.
To run your FastStore project, you must have Node.js version 14.19 or later installed on your computer.
Yarn - a package manager for Javascript that allows you to use and share code with other developers from around the world.
When building storefronts with FastStore, we'll use the yarn command-line interface to add Gatsby plugins and custom functionalities to our store. We'll also use yarn to run tasks, such as starting a development server.
- Install Yarn on macOS by running
brew install yarn
- Install Yarn on Windows by running
npm install -g yarn
Git - a distributed version control system that helps teammates work together on the same codebase and keeps track of different versions of your code.
When developing your store's website, you will use Git to push your code to the cloud, making it possible for the VTEX IO WebOps to run its QA bots and deploy your site. Gatsby will also use Git to download and install the required files for your project.
VTEX IO CLI - a command-line interface that gives you access to all of the features in the VTEX platform.
We'll use the VTEX IO CLI to set up your VTEX environment before you start developing your FastStore storefront.
- Install VTEX IO CLI according to your operating system
- In the following, install the
settingsCLI plugin by running:
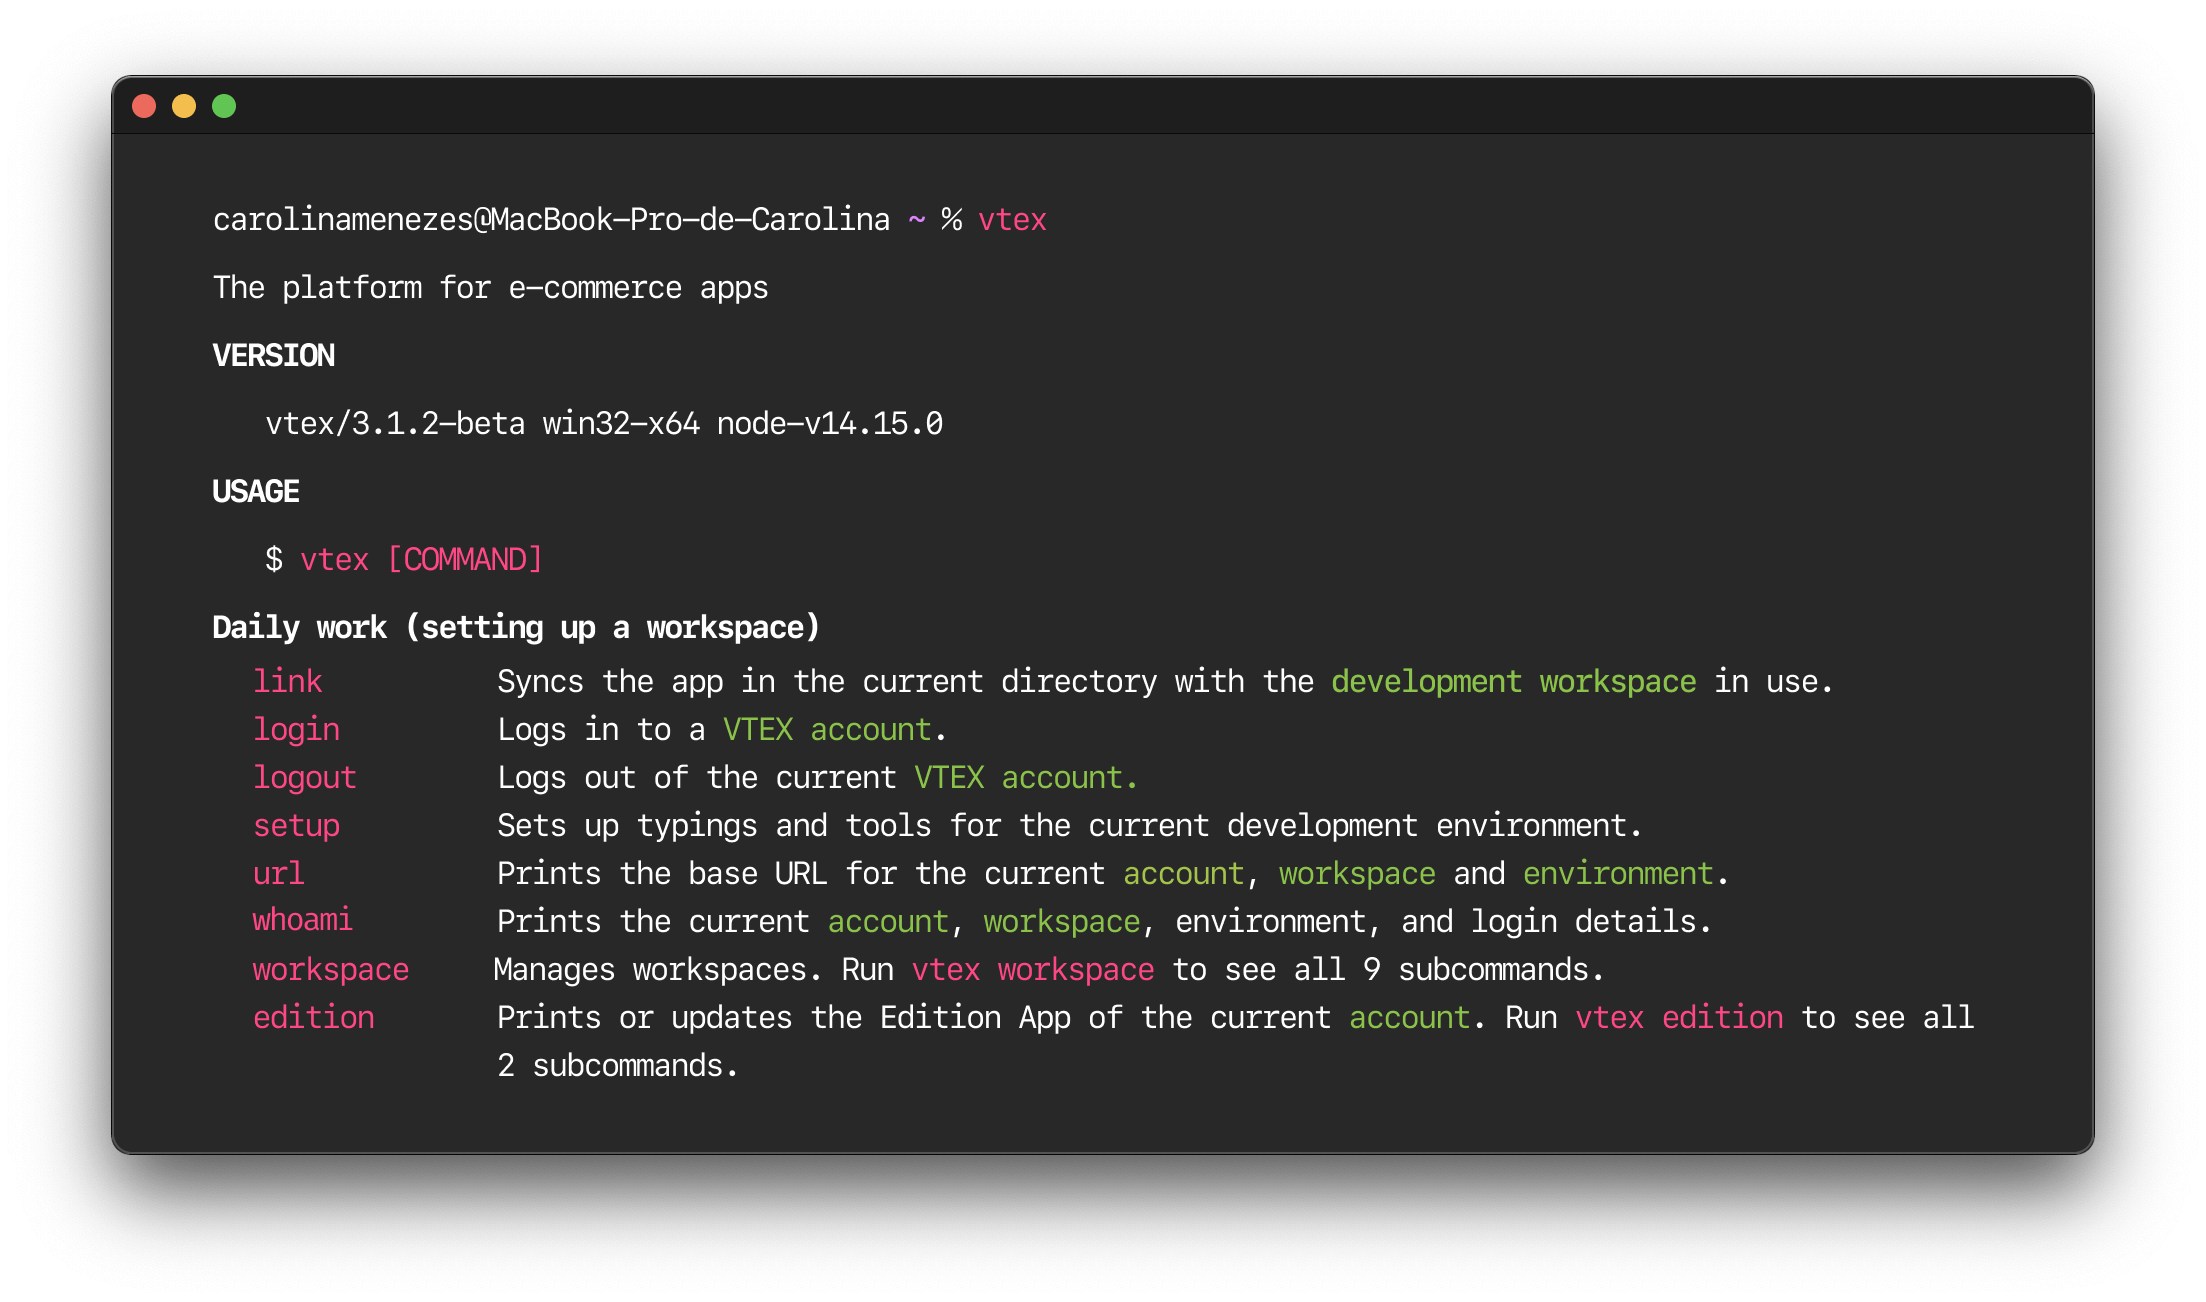
vtex plugins install settings
Visual Studio Code - a free, streamlined code editor with support for development operations like debugging, task running, and version control.
When developing your store's website, you will use Visual Studio Code (a.k.a., VS Code) to write code for your project. Visit the VS Code website, download and install the version appropriate to your operating system.
Although you might opt to use an alternative code editor, note that using VS Code might help you follow along with the FastStore documentation since our docs include many screenshots from VS Code.
Step 2: Setting up your GitHub account
Contact us to manifest your interest in developing with FastStore and request to be added as a member of the VTEX Sites GitHub organization.
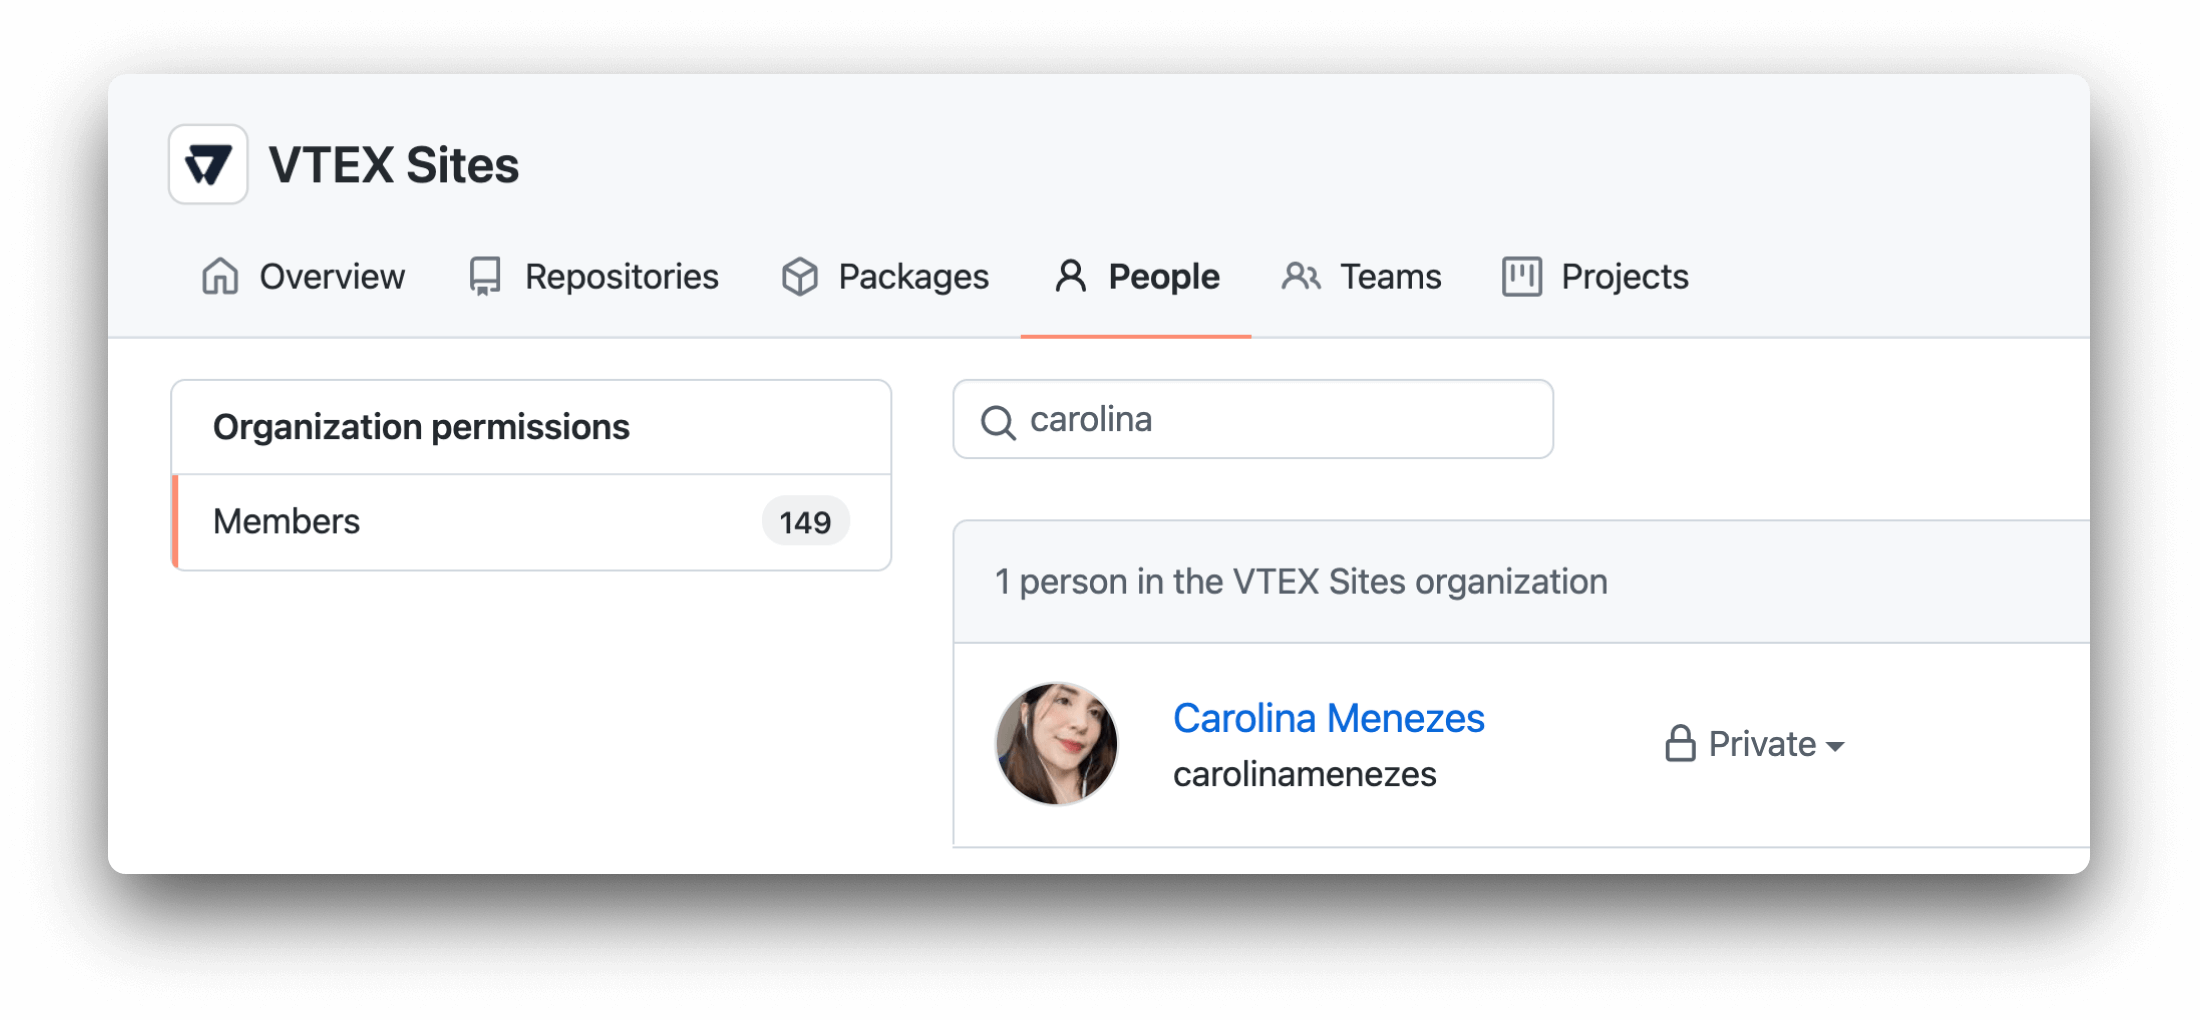
If you don't have a GitHub account, first go here and sign up for a free one.
Step 3: Setting up your VTEX environment
-
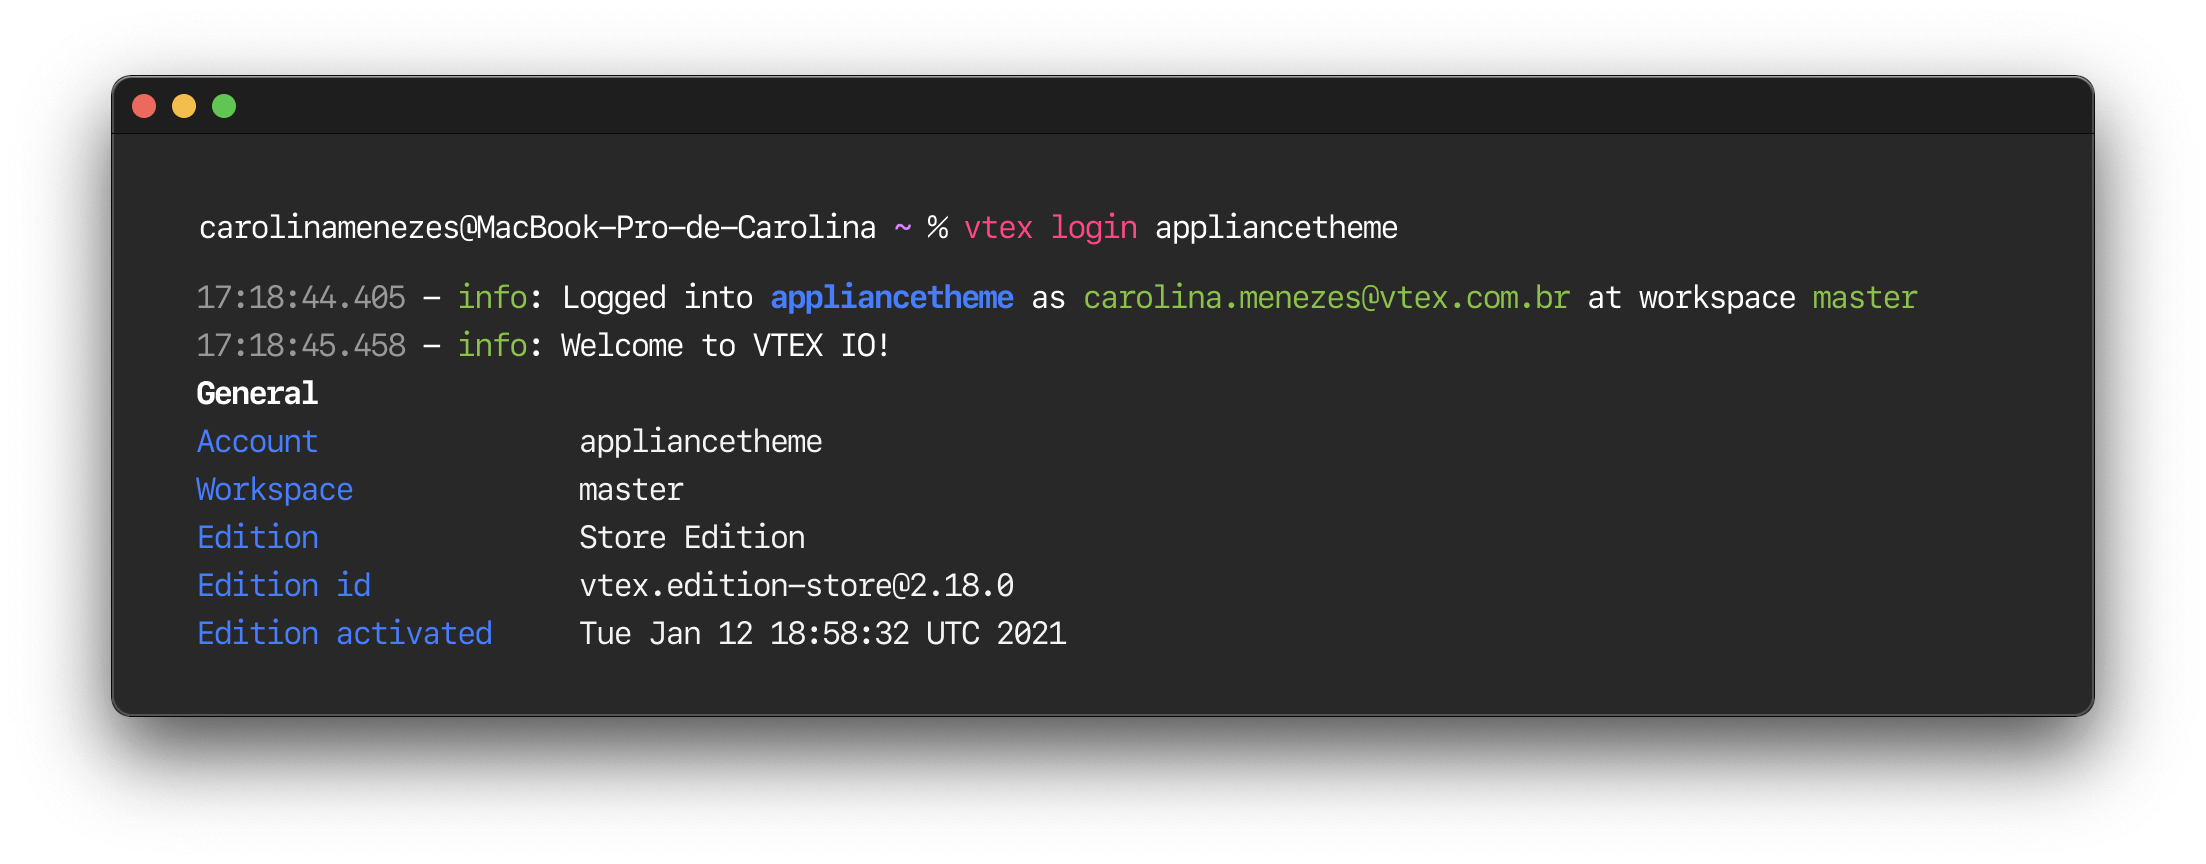
Open up the terminal and log in to your VTEX account.
- Replace the value between curly braces according to your scenario.
vtex login {account}
-
Install all the necessary apps to start developing with FastStore.
vtex install vtex.admin-search@1.x vtex.search-resolver@1.x vtex.admin-cms@0.x vtex.graphql-gateway@0.x vtex.store-sitemap@2.x vtex.store@2.x vtex.messages@1.x vtex.cms-builder-sf-jamstack@0.x vtex.intelligent-search-api@0.x
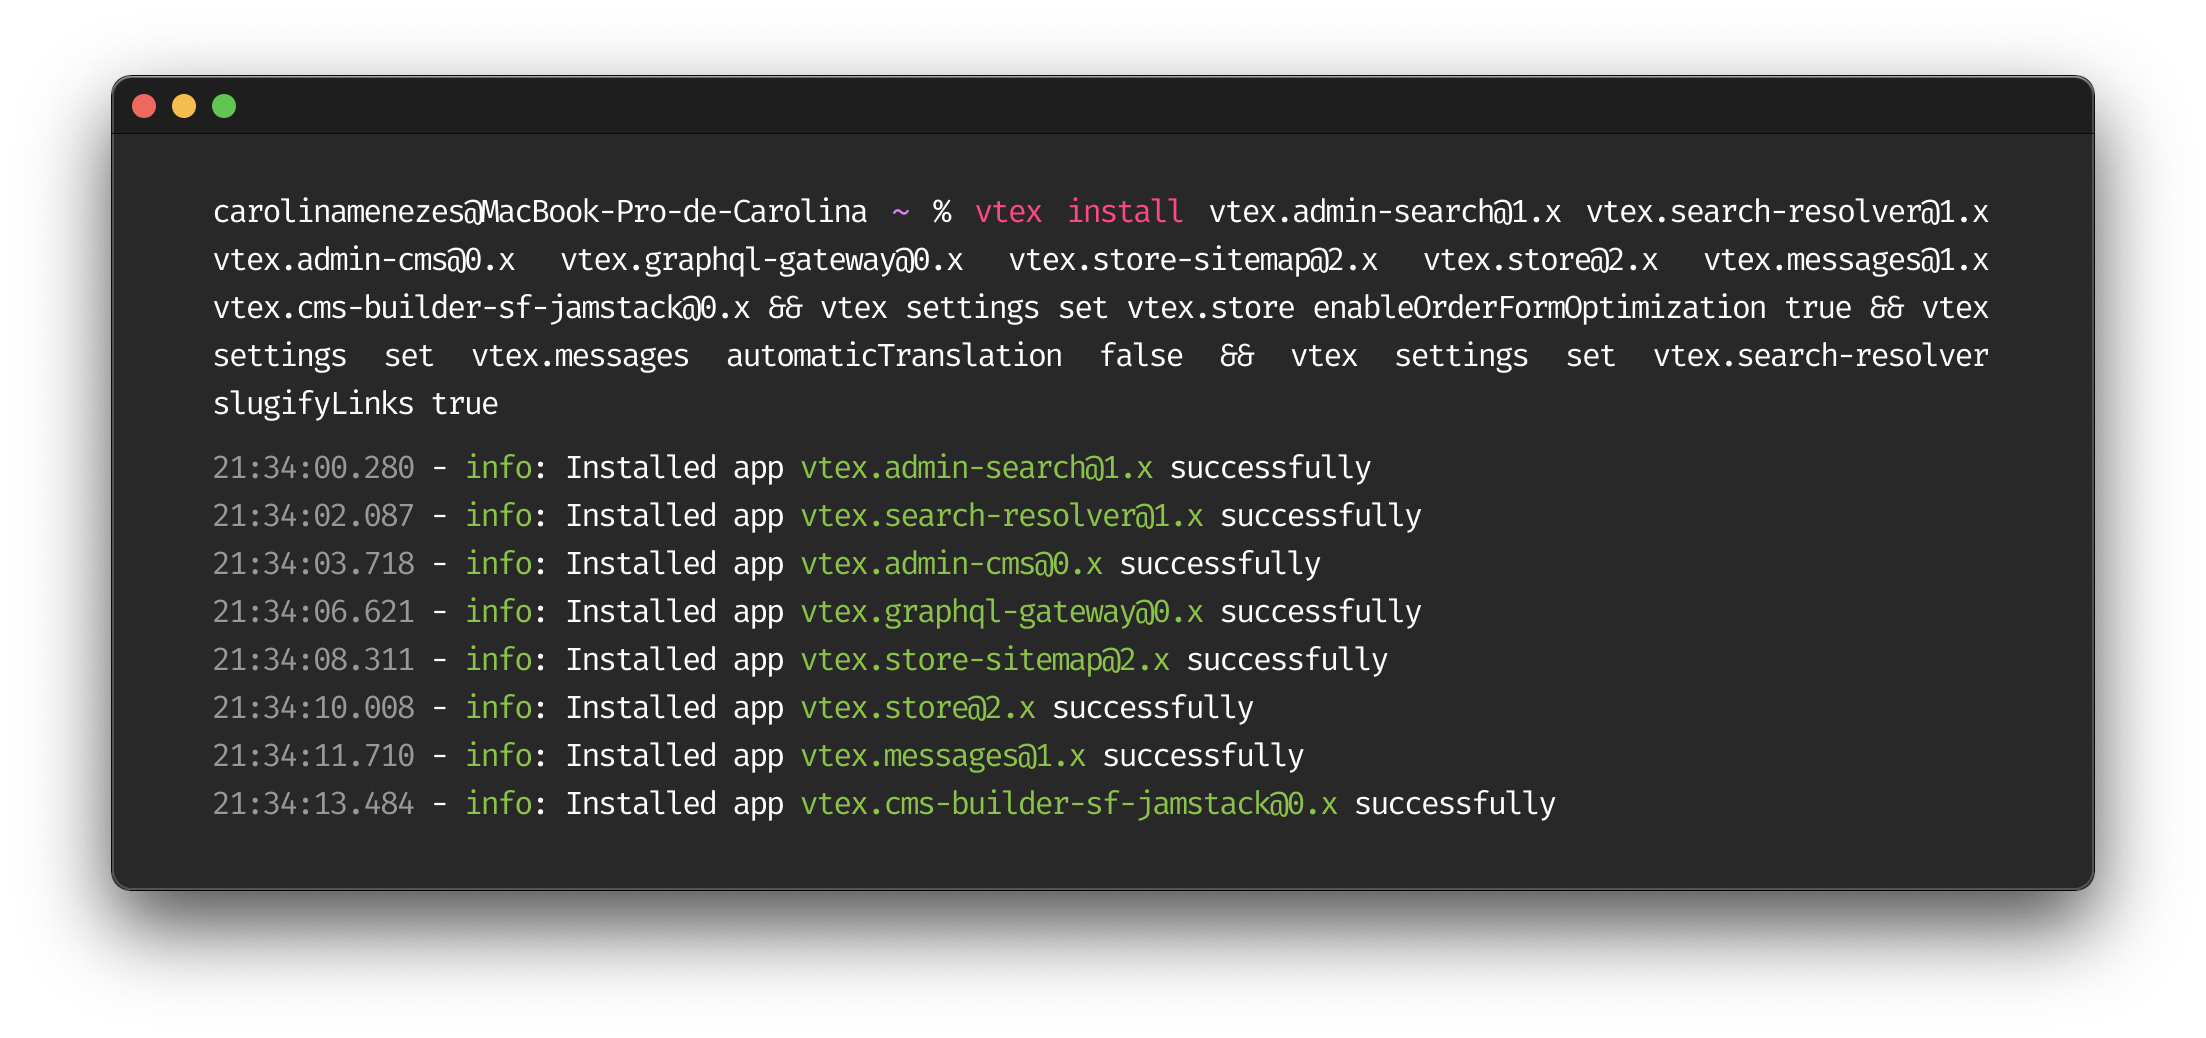
-
Install the
settingsplugin from the VTEX IO CLI.vtex plugins install settings -
Set up your VTEX environment variables.
vtex settings set vtex.store enableOrderFormOptimization true && vtex settings set vtex.messages automaticTranslation false && vtex settings set vtex.search-resolver slugifyLinks truecautionIf you find any problems while setting up your VTEX environment, please refer to our Troubleshooting article.
-
Access your account admin at
https://{account}.myvtex.com/admin. -
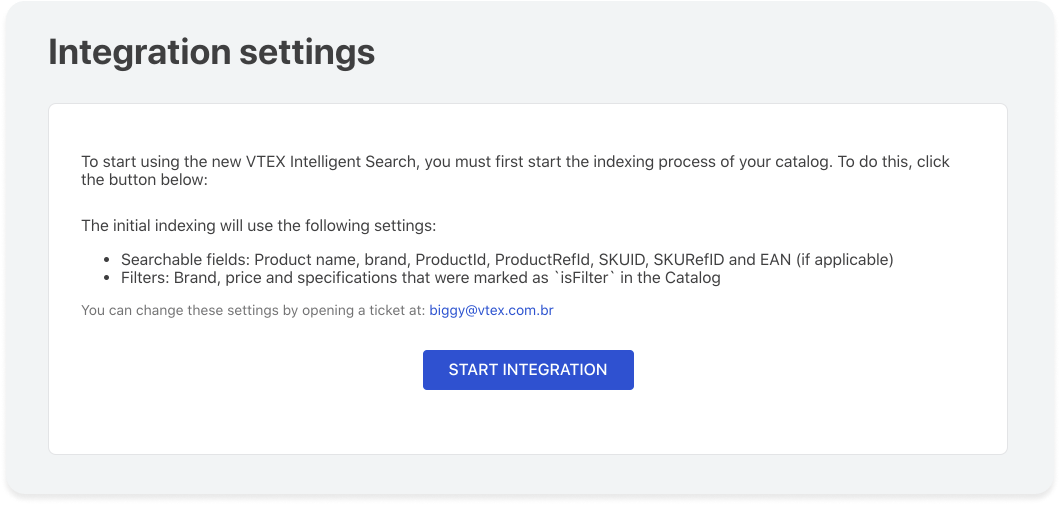
Go to Store Setup > Search > Integration Settings and check if the VTEX Intelligent Search app (
vtex.search-resolver@1.x) indexing has started. If not, click on Start Integration. Check our docs for more info on the Intelligent Search.
